A healthy dessert for the whole family: a recipe for ice cream with pine nut flakes
Want to treat your loved ones to something delicious and healthy at the same time? Then this recipe is exactly what you need! In this article, we’ll show you how to make creamy, aromatic homemade ice cream with pine nut flakes. Both adults and children will love this dessert, and it doesn’t take long to prepare.

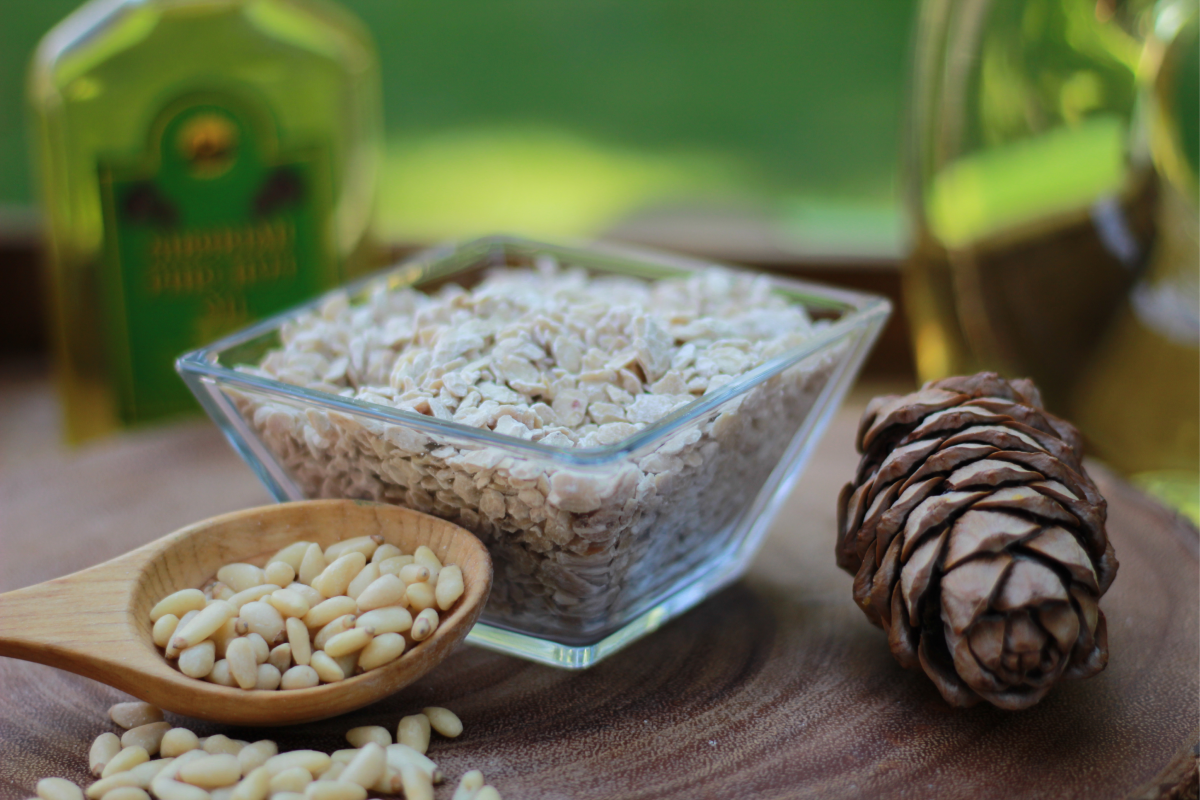
Homemade ice cream with pine nut flakes is a great alternative to store-bought sweets. Pine nut flakes are a source of valuable nutrients that are important for the health of both children and adults. Protein promotes growth and development, healthy fats support brain and cardiovascular function, and fiber improves digestion
Why pine nut flakes?
Pine nut flakes are a valuable product rich in protein – essential for cell growth and repair – healthy fats that benefit the cardiovascular system, vitamins B, E, and PP, minerals such as magnesium, phosphorus, zinc, and iron, as well as fiber to support healthy digestion.
Recipe for homemade ice cream with pine nut flakes
Ingredients:
- Heavy cream (33–35% fat): 500 ml (chilled)
- Condensed milk: 200–250 g
- Pine nut flakes: 50–70 g
- Vanilla extract: 1 tsp (optional)
Equipment:
- Mixer (handheld or stand mixer)
- Deep bowl
- Freezer-safe container
Instructions:
In a deep bowl, whip the well-chilled cream with a mixer on medium speed until soft peaks form. It’s important not to over-whip the cream so it doesn’t turn into butter.
Carefully pour the condensed milk into the whipped cream in a thin stream, continuing to beat on low speed. Add the vanilla extract, if using. Beat until the mixture is smooth and fluffy.
Add the prepared pine nut flakes to the cream mixture. Gently fold in with a spatula or spoon so the meal is evenly distributed. Do not overmix, so as not to deflate the mixture.
Transfer the mixture to a freezer-safe container. Cover tightly with a lid.
Place the container in the freezer for 4–6 hours. During the first 2–3 hours, remove the container every 30–40 minutes and stir the mixture with a spatula to prevent large ice crystals from forming and to achieve a smoother ice cream texture. This step is very important for achieving the perfect consistency.
After the initial freezing and stirring, leave the ice cream in the freezer for another 4–6 hours until it is completely frozen. After that, the dessert is ready to serve.
Enjoy this natural, delicious, and healthy treat that will bring joy and benefits to your whole family!
These articles come directly from researchers and are passed on to everybody. siberianpinenutoil.org assumes no liability for any content in these articles. For Educational purposes only. This information has not been evaluated by the Food and Drug Administration. This information is not intended to diagnose, treat, cure, or prevent any disease.